Creating a Blank Pipeline
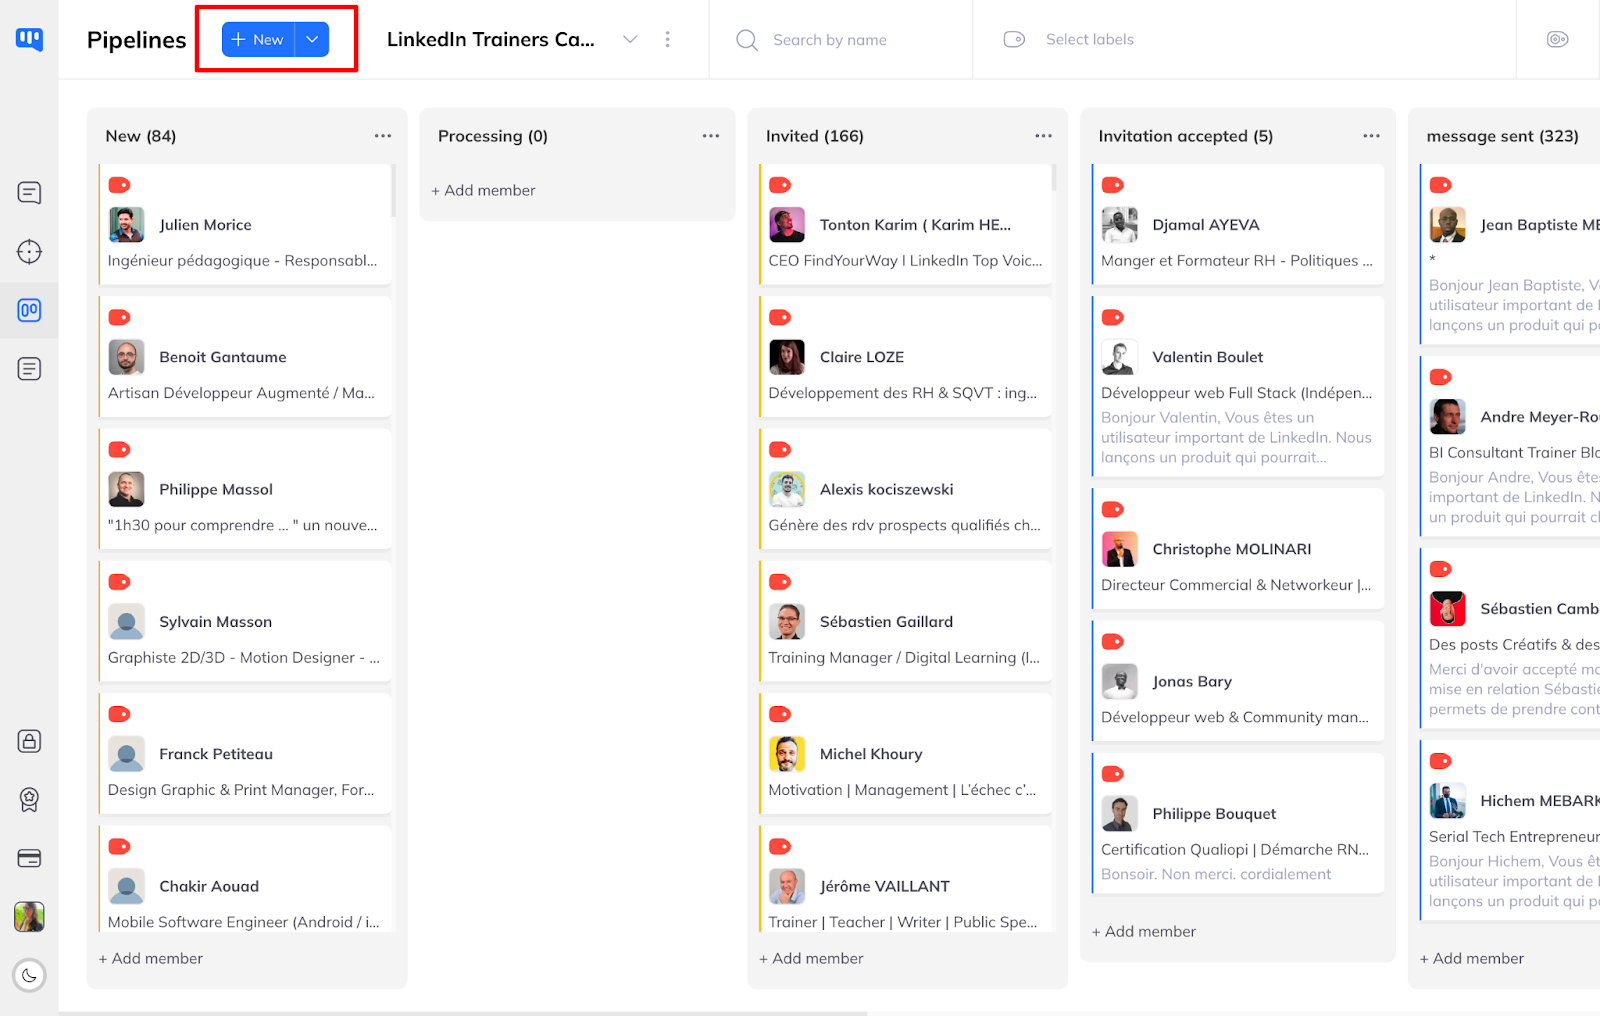
Create as many Pipelines as necessary to manage your sales or recruitment processes by clicking on the “New” button.
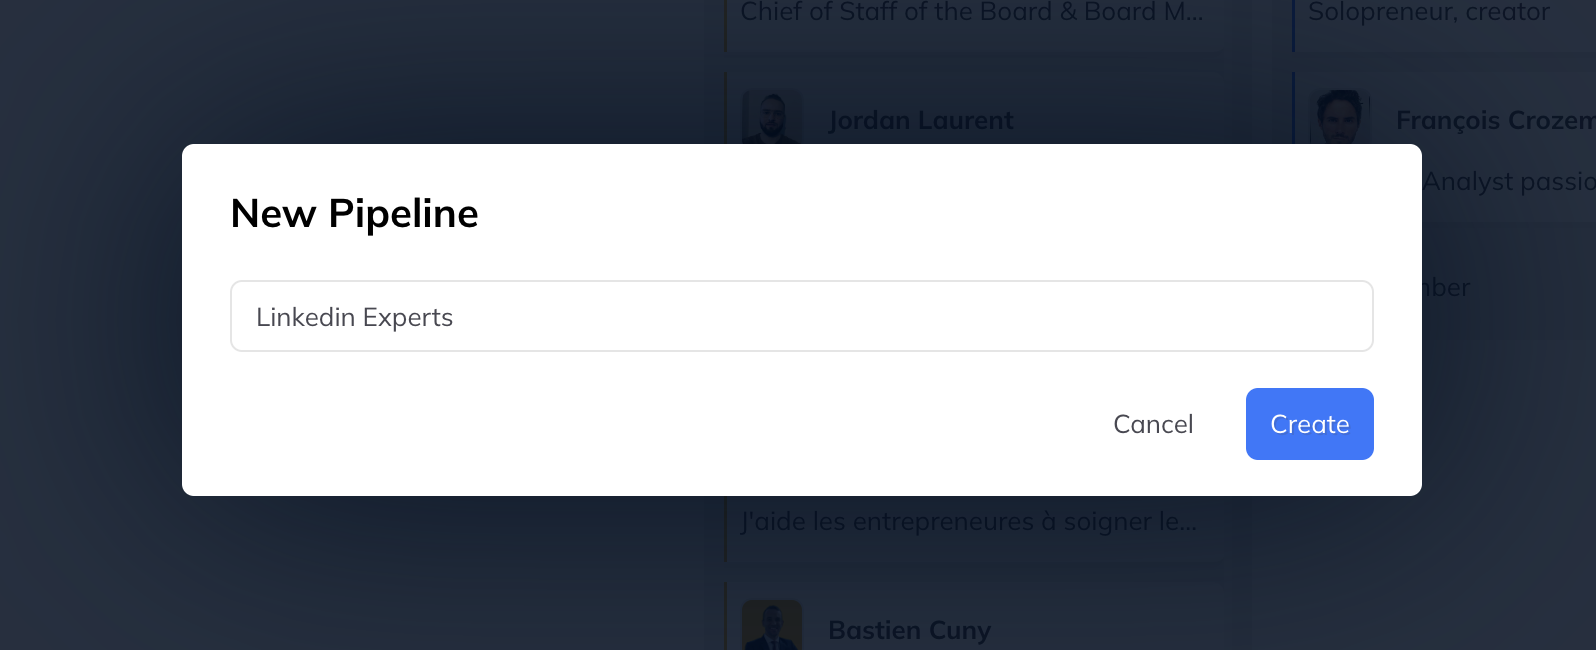
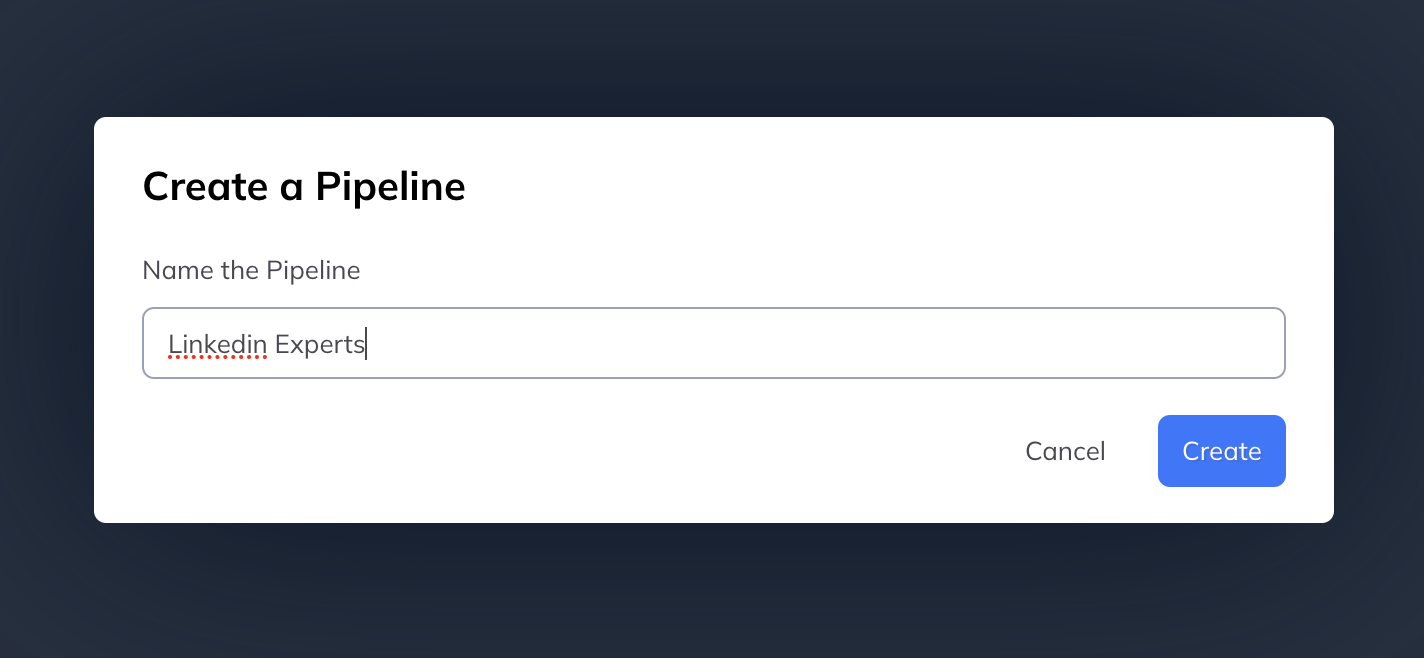
Give a name to the new pipeline then click “Create”
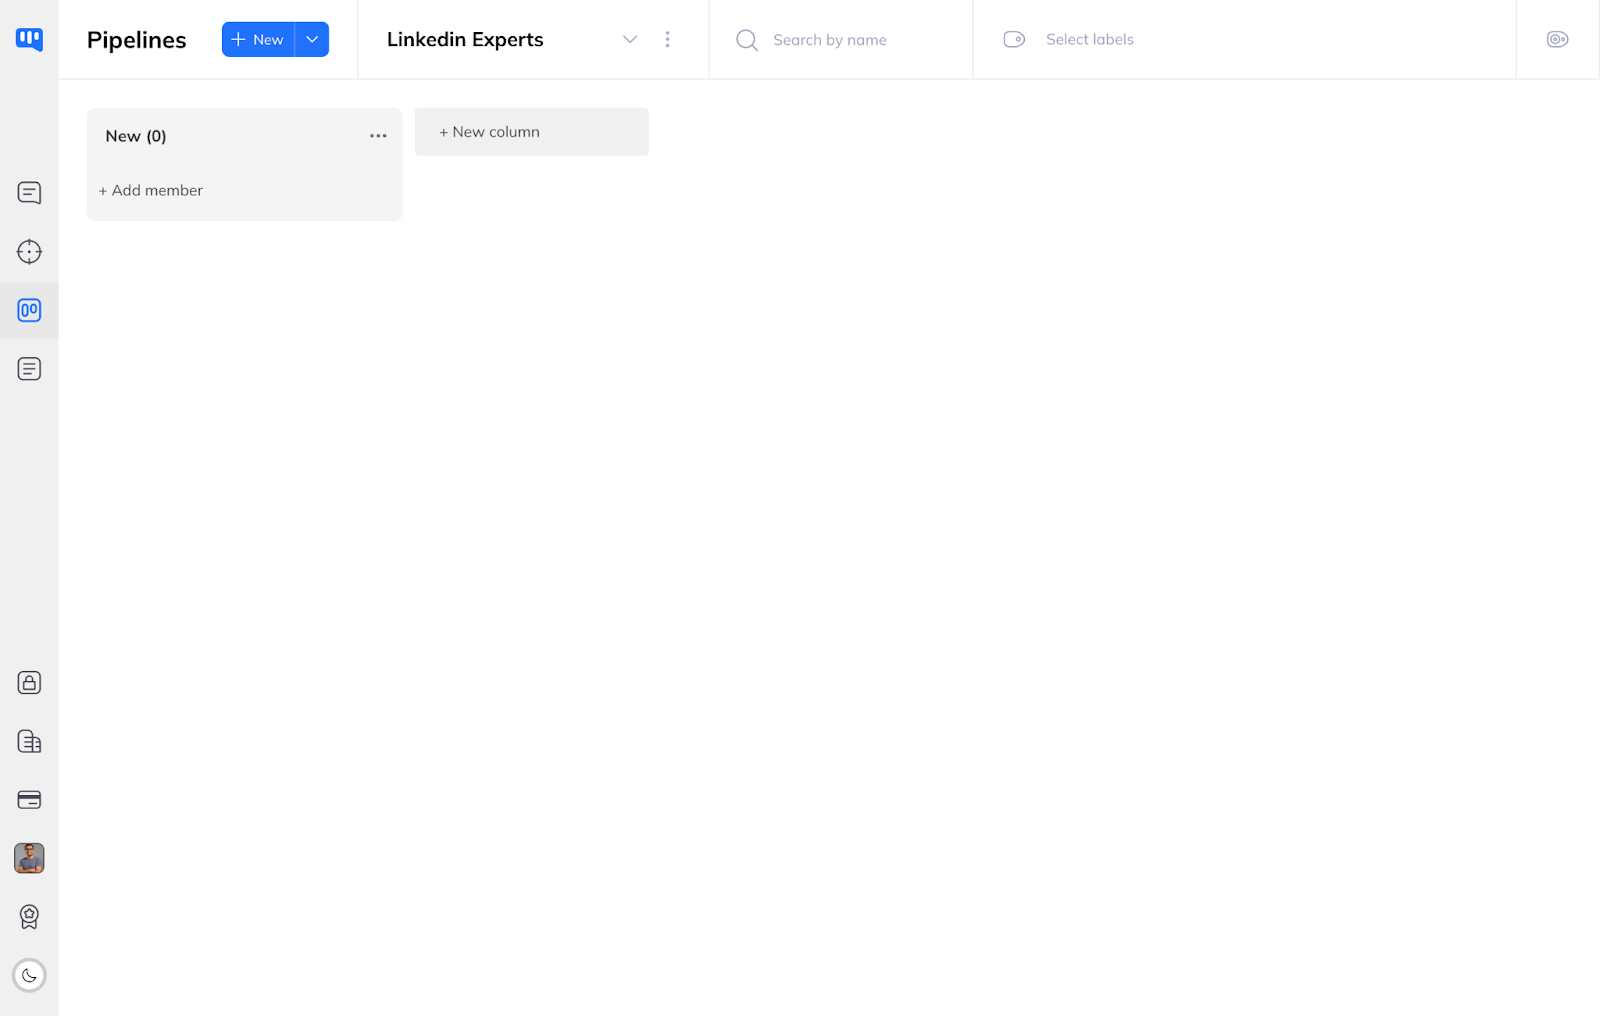
You have created a Pipeline.
Creating a Pipeline from a model intended for sales
Make your sales process easier by using our dedicated pipeline templates. Quickly create custom pipelines to effectively manage your sales opportunities from prospecting to closing.
Locate the main “New” button on a Pipeline page. Click the button selector to the right of the button to open the menu. Then select “+ New Sales Pipeline”.
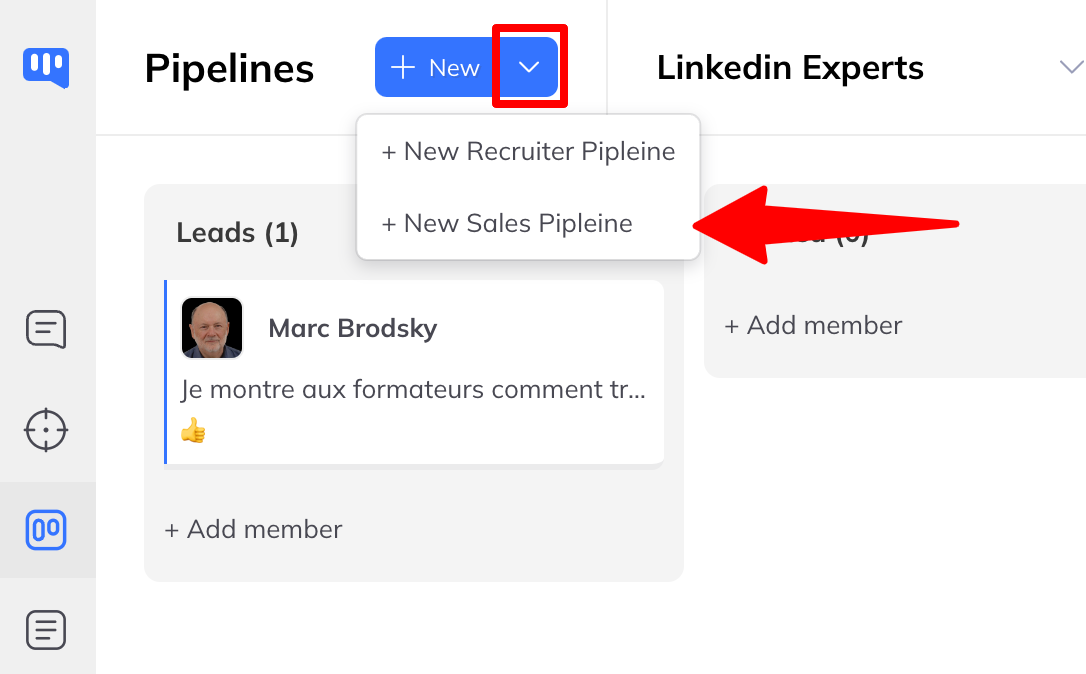
Give your Pipeline a name then click “Create”.
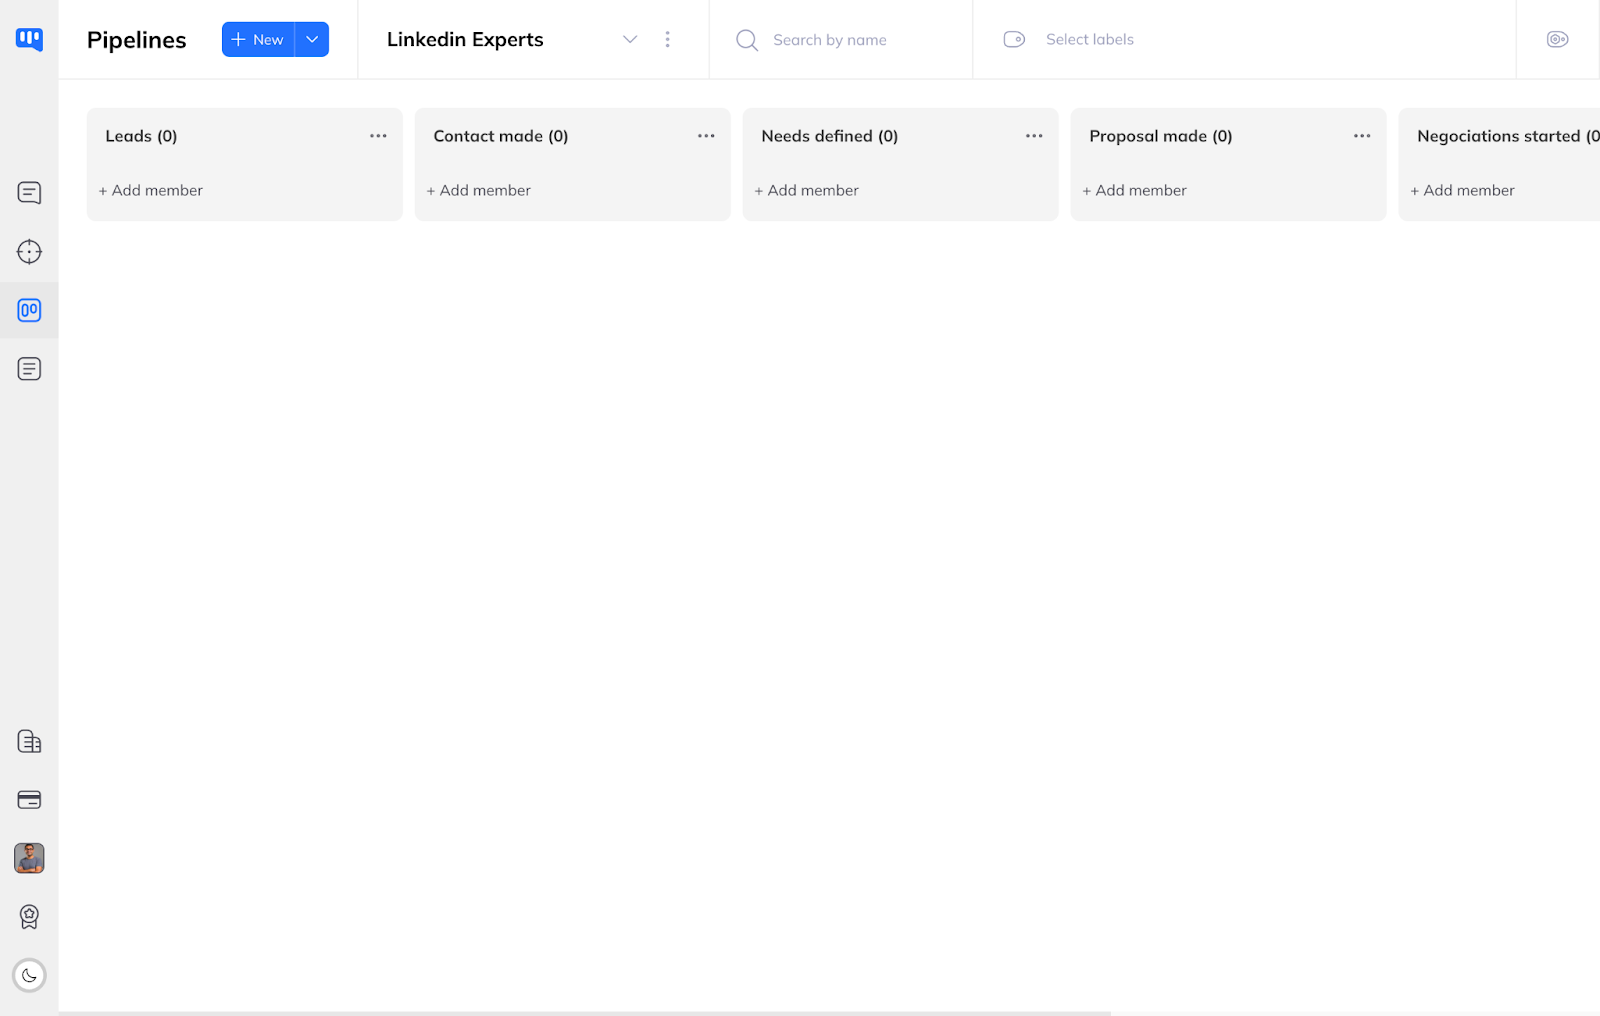
The new Pipeline will contain the following columns:
- Leads
- Contact established
- Defined needs
- Proposal made
- Negotiation started
- Agreement reached
Creation of a Pipeline from a model intended for recruitment
Optimize your recruiting efforts with our specialized pipeline templates. Create custom pipelines to track the candidate journey from initial search to successful onboarding to your team.
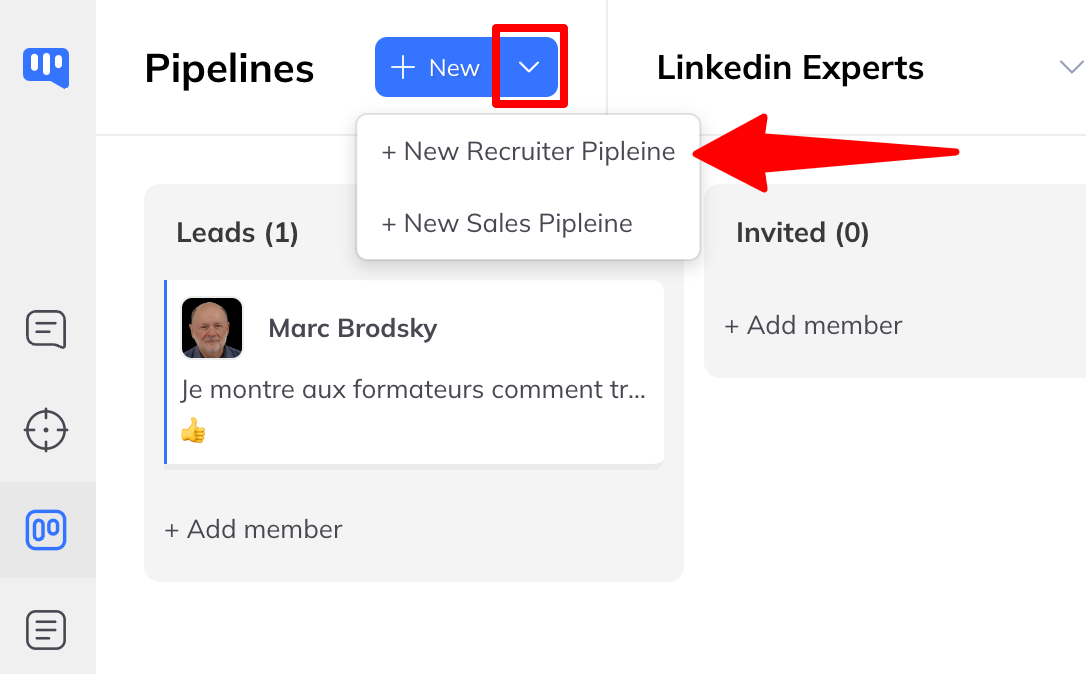
Locate the main “New” button on a Pipeline page. Click the button selector to the right of the button to open the menu. Then select “+ New Sales Pipeline”.
Give your Pipeline a name then click “Create”
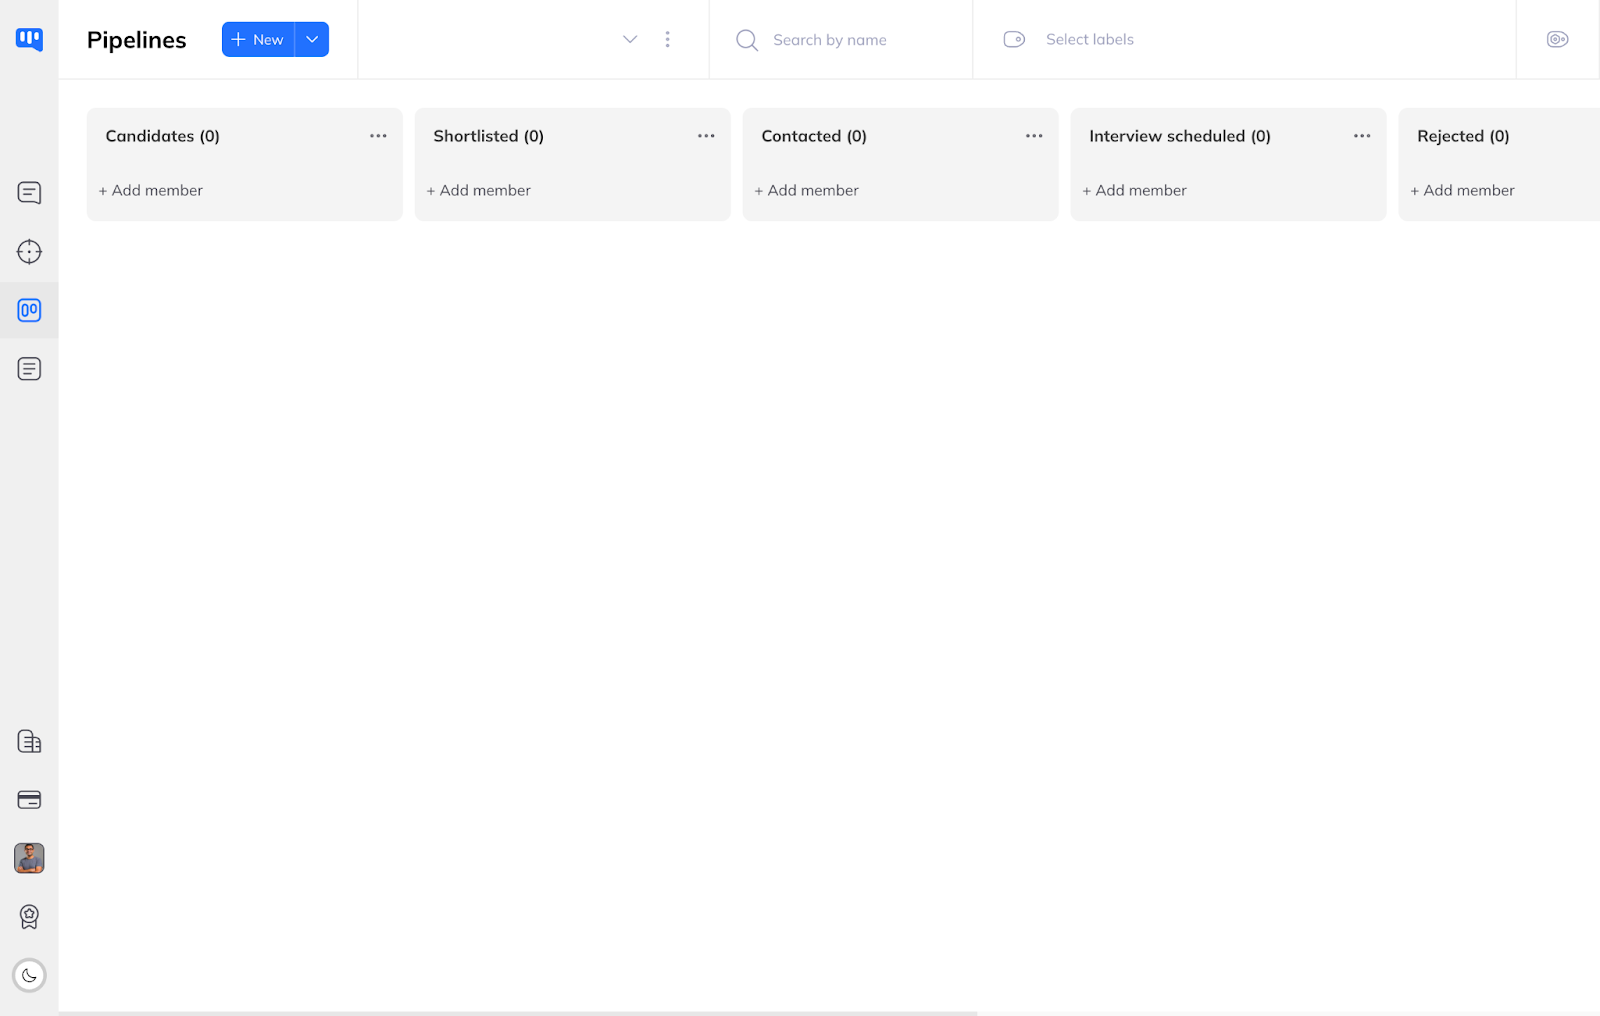
The new Pipeline will contain the following columns:
- Candidate
- Selected
- Contacted
- Scheduled interview
- Rejected
- Final interview
- Offer sent
Duplicate a Pipeline
Duplicate a Pipeline allows you to create a new Pipeline without any members and with the same columns as another Pipeline.
Locate the menu button to the right of a pipeline name.
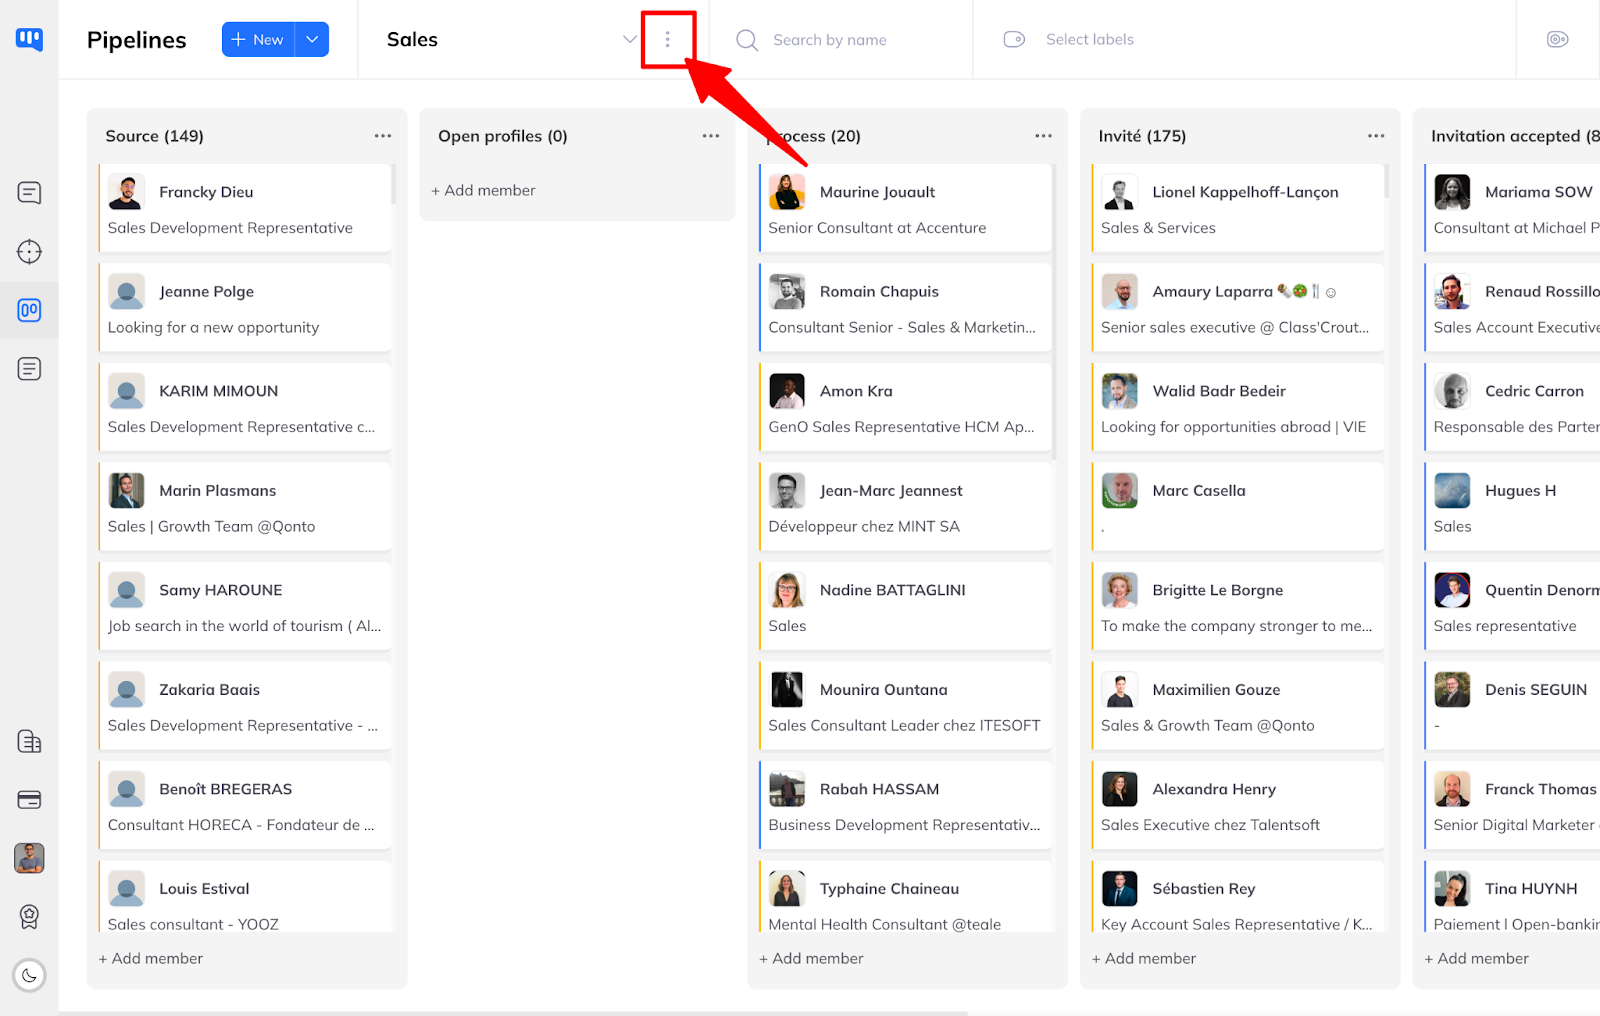
Click on it, and select “Duplicate” from the drop-down menu.
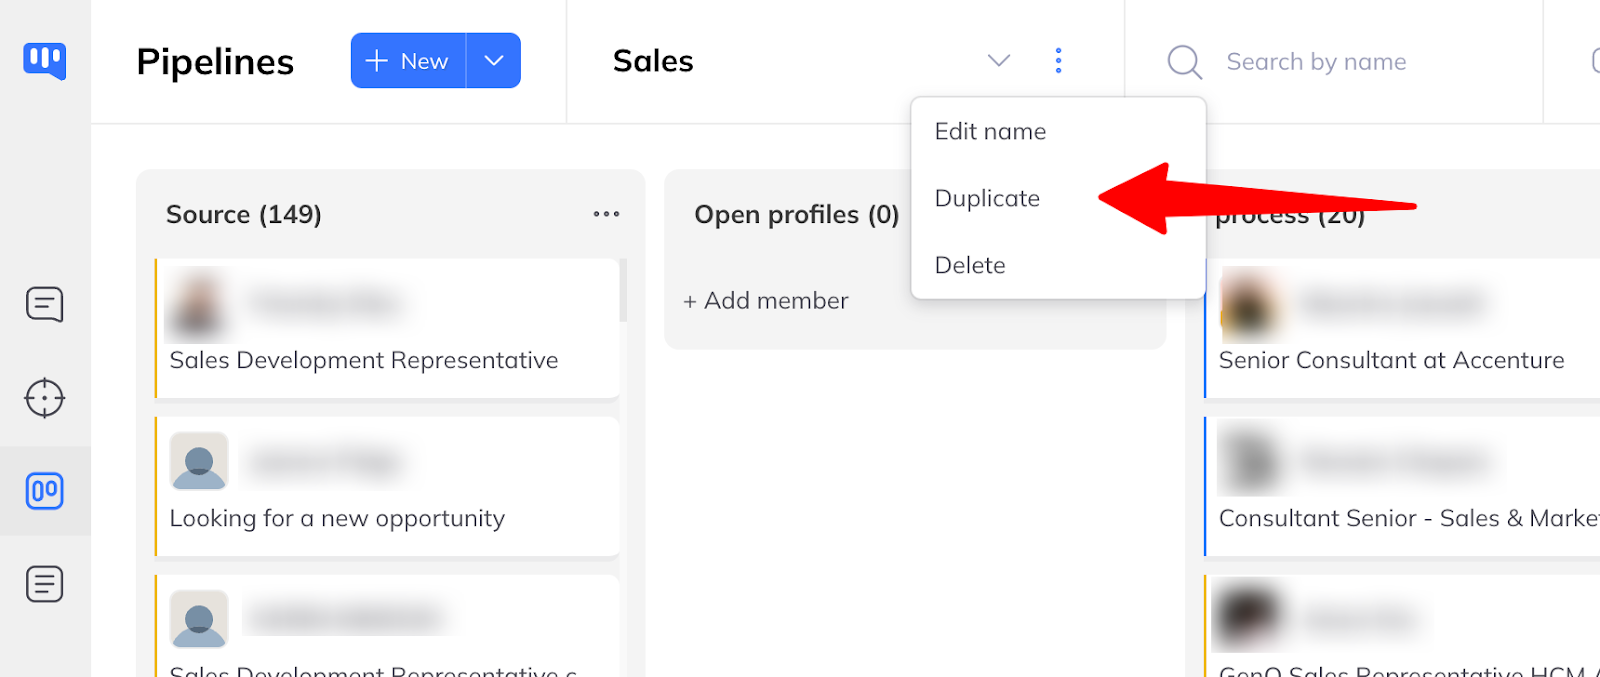
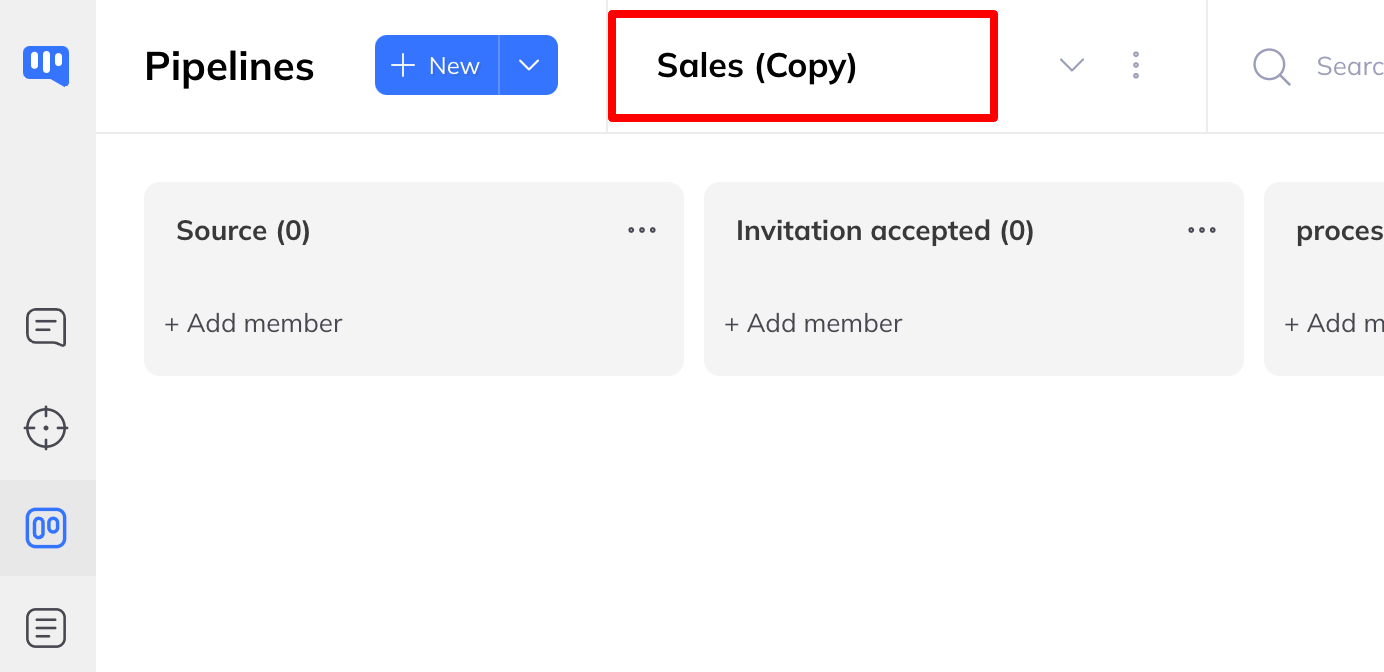
Wait a few moments and a new Pipeline is created bearing the name of the Pipeline that served as a model accompanied by the words “(Copy)”. You can modify the name as you would any Pipeline.